How to Make a Wedding Seating Chart: A Calm, Step-by-Step Plan (and Cheap Ways to Show It)
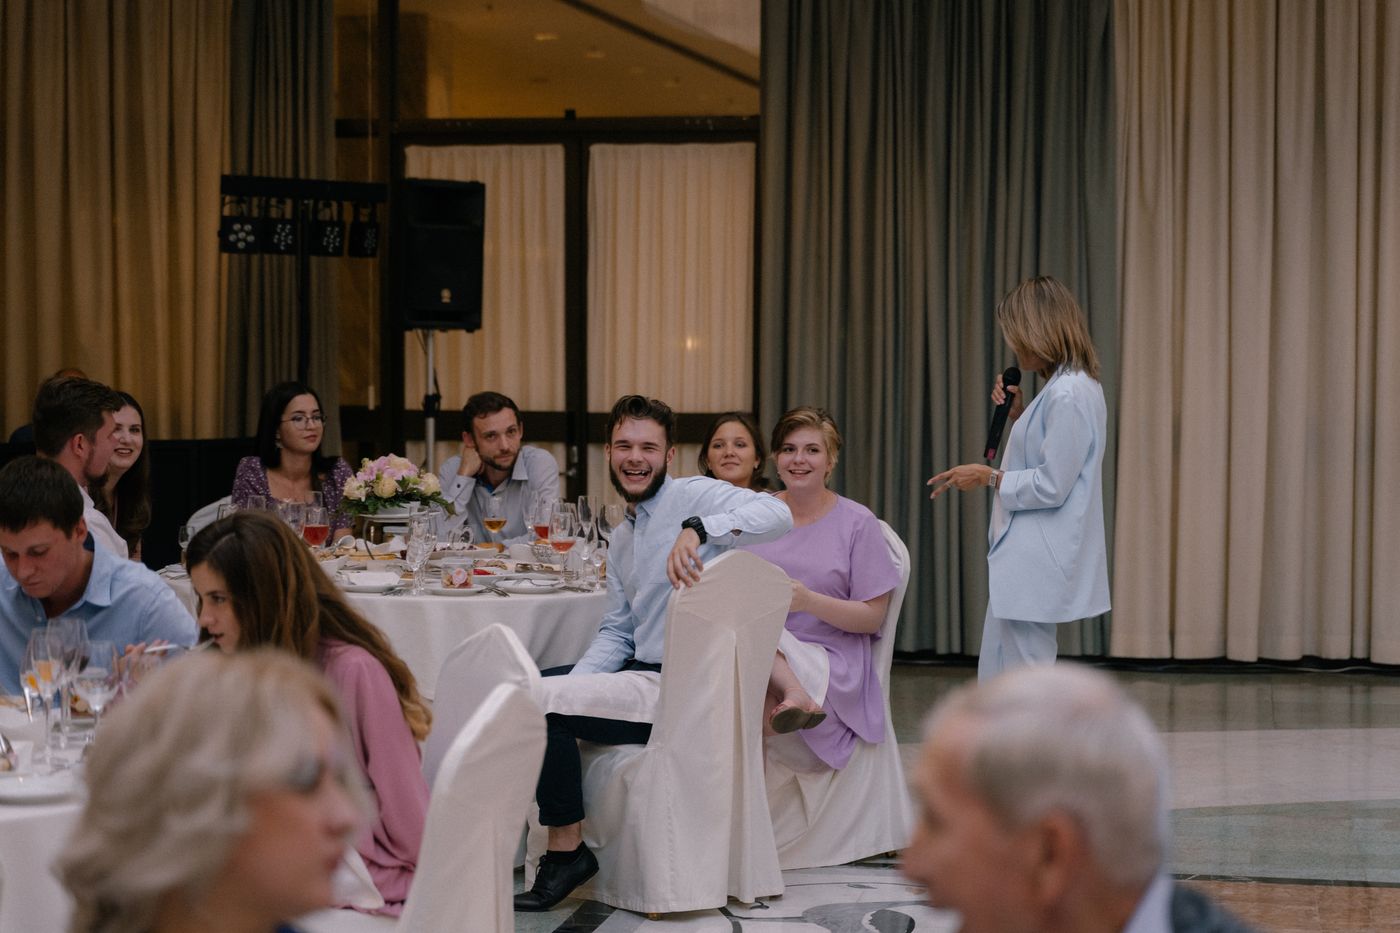
To make a wedding seating chart, wait for your RSVPs, sort your guests into small groups who already know each other, then fill tables from the top down: the two of you first, then close family, then everyone else, keeping a gap between anyone who doesn't get along. Do it with sticky notes or a spreadsheet, check it once with someone who knows both families, and then copy the final version onto one big sign at the door.
That's honestly all it is. It feels huge because it's personal, but it's a puzzle with maybe a dozen pieces that matter and a lot that will fall into place on their own. Here is how to get through it without a fight.
When to start your seating chart
Not too early. Every chart drawn before the RSVPs are in gets redrawn, and that's where the stress comes from. Paperlust suggests this rough timeline (Paperlust):
| When | What to do |
|---|---|
| 6 to 8 weeks before | RSVP deadline |
| 5 to 6 weeks before | First draft with the confirmed guests |
| About 3 weeks before | Lock the guest count and sort out late changes |
| 2 to 3 weeks before | Final names go to whoever is printing or lettering the chart |
| About 2 weeks before | Caterers usually want the final count |
| Day before or morning of | The chart goes to the venue |
If you're writing the chart by hand on a mirror or a chalkboard, treat that 2 to 3 week mark as your hard stop. Last-minute changes are fine on paper and miserable on glass. Our month-by-month DIY wedding timeline shows where the chart fits next to everything else.
Step 1: Get the room and the table count first
Before you put a single name anywhere, ask your venue for the floor plan and find out what tables they actually have. Where the dance floor, bar, doors and speakers go decides which tables are the good ones and which are next to the bathroom.
Then do the simple math: guests divided by seats per table. Paperlust's comfortable numbers are a good starting point:
| Table | Comfortable | Tight squeeze |
|---|---|---|
| 48 in round | 6 | 8 |
| 60 in round | 8 | 10 |
| 72 in round | 10 | 12 |
| 6 ft rectangle | 6 to 8 | 10 |
| 8 ft rectangle | 10 | 12 |
The same guide suggests leaving about 10% breathing room, so not every table is full to the last chair. That small slack is what saves you when a plus-one shows up you forgot about.
Round tables or long tables?
Rounds are easier to plan. Each table is its own little group, everyone can talk to everyone, and moving one person changes one table.
Long tables look relaxed and fit more people in a narrow room, but they're harder to seat. You're not planning tables any more, you're planning who sits across from and next to whom, because people really only talk to the three or four guests around them. If you go long, think in clusters of six along the table.
Step 2: Sort guests into groups before you seat anyone
This is the step that makes everything else easy. Go through your guest list and give everyone two labels:
- Their party. The people they arrive with. Couples, families with kids, a friend and their date. A party never gets split.
- Their group. How they know you. College friends, your mom's side, work, the climbing gym, neighbors.
Now you're not seating 120 people, you're placing maybe 15 groups. Many groups will be exactly one table. The leftovers are where the thinking happens.
Step 3: Fill tables from the top down
- You two. A sweetheart table, a head table with the wedding party, or just a regular table in a good spot. All three are normal.
- Parents and grandparents. Closest to you, with a clear view and an easy walk to the restroom for anyone older.
- The wedding party and their partners. Either with you or at a table right next to yours.
- Everyone else by group. Closer friends and family nearer the front, newer friends and work people further back.
- The leftovers. Put them with the group they have the most in common with, not at a "random" table.
The easiest tool is still sticky notes on a big sheet of paper, one note per party, so you can move people around with your hands. A free spreadsheet works too: one row per guest, a column for the table number. Use whichever one you'll actually open.
The tricky family situations
This is the part people worry about, so here's the reassuring bit: almost every family has one of these, and there's a standard fix for each.
Divorced parents. Give each parent their own table, both the same distance from you, so nobody looks like the favorite. If things are really tense, put them on opposite sides of the room and out of each other's direct line of sight (Paperlust).
Relatives or friends who are feuding. Paperlust's rule of thumb is at least two tables between people in an active conflict. If you can, seat a calm mutual friend at each of those tables, someone who hasn't taken sides.
The single friend who knows nobody. Don't put them at a "singles table". Seat them with the friendliest group you have, next to someone you'd trust to look after them.
Kids. Little ones sit with their parents. If you have a handful of older kids, a kids' table near their parents can be the most fun table in the room.
Plus-ones you've never met. Always seat them next to the person who brought them. It sounds obvious, and it's the mistake that makes people the most uncomfortable.
When you think you're done, show the draft to one person from each side of the family. They'll spot the cousin who isn't speaking to the other cousin in about thirty seconds.
Escort cards, place cards or just a chart?
You have three levels, and on a budget you only need the first one:
- A seating chart tells guests which table. One sign, done.
- Escort cards do the same thing as small cards guests pick up at the door. Pretty, but it's one card per guest to print and set out.
- Place cards tell guests which chair. Only worth it if you're doing a plated dinner where the caterer needs to know who ordered what, or if you want to break up a group on purpose.
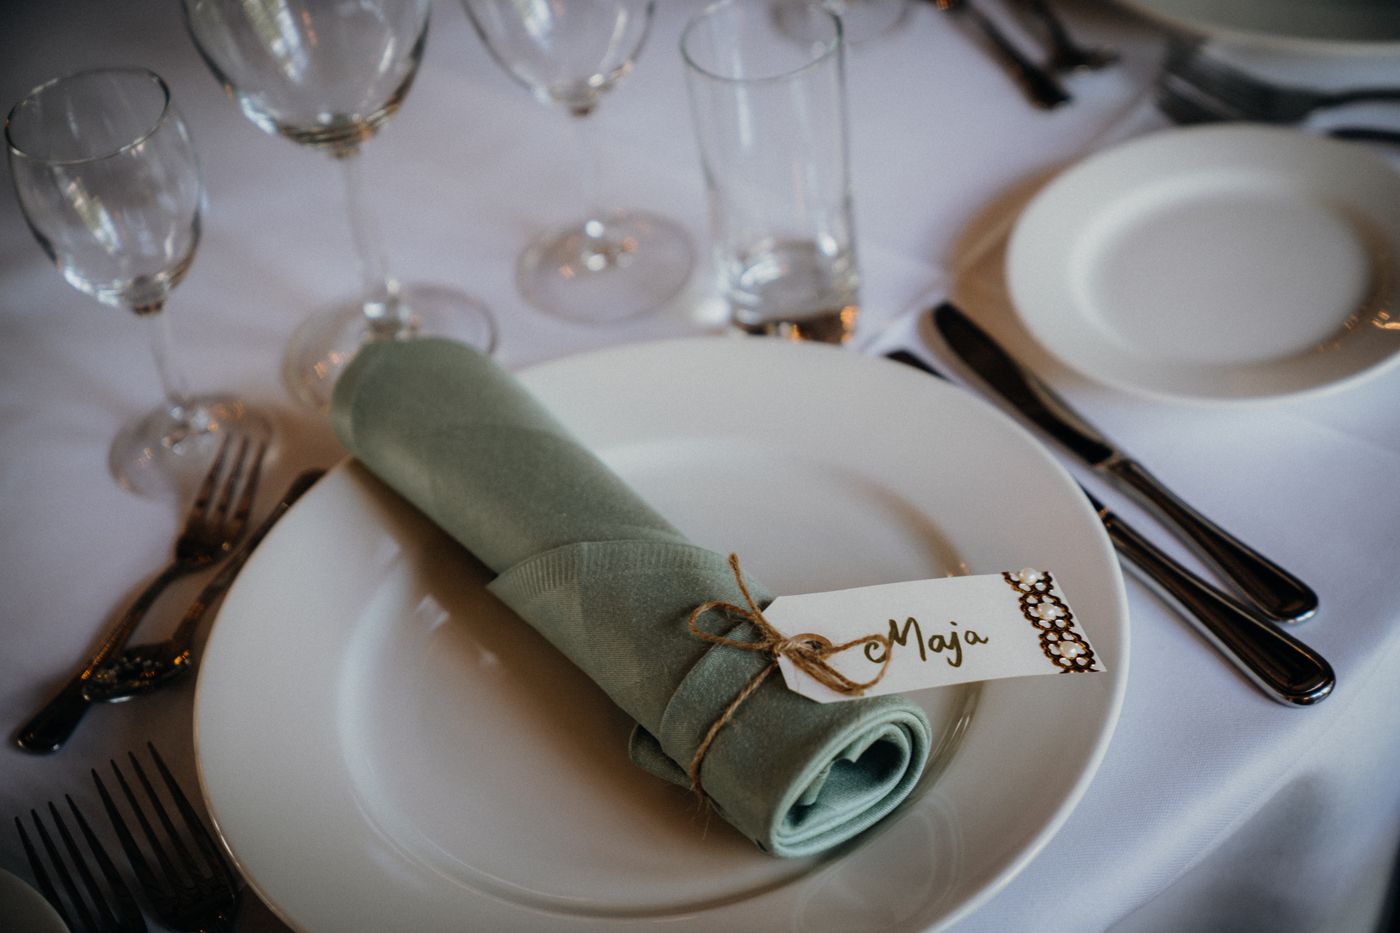
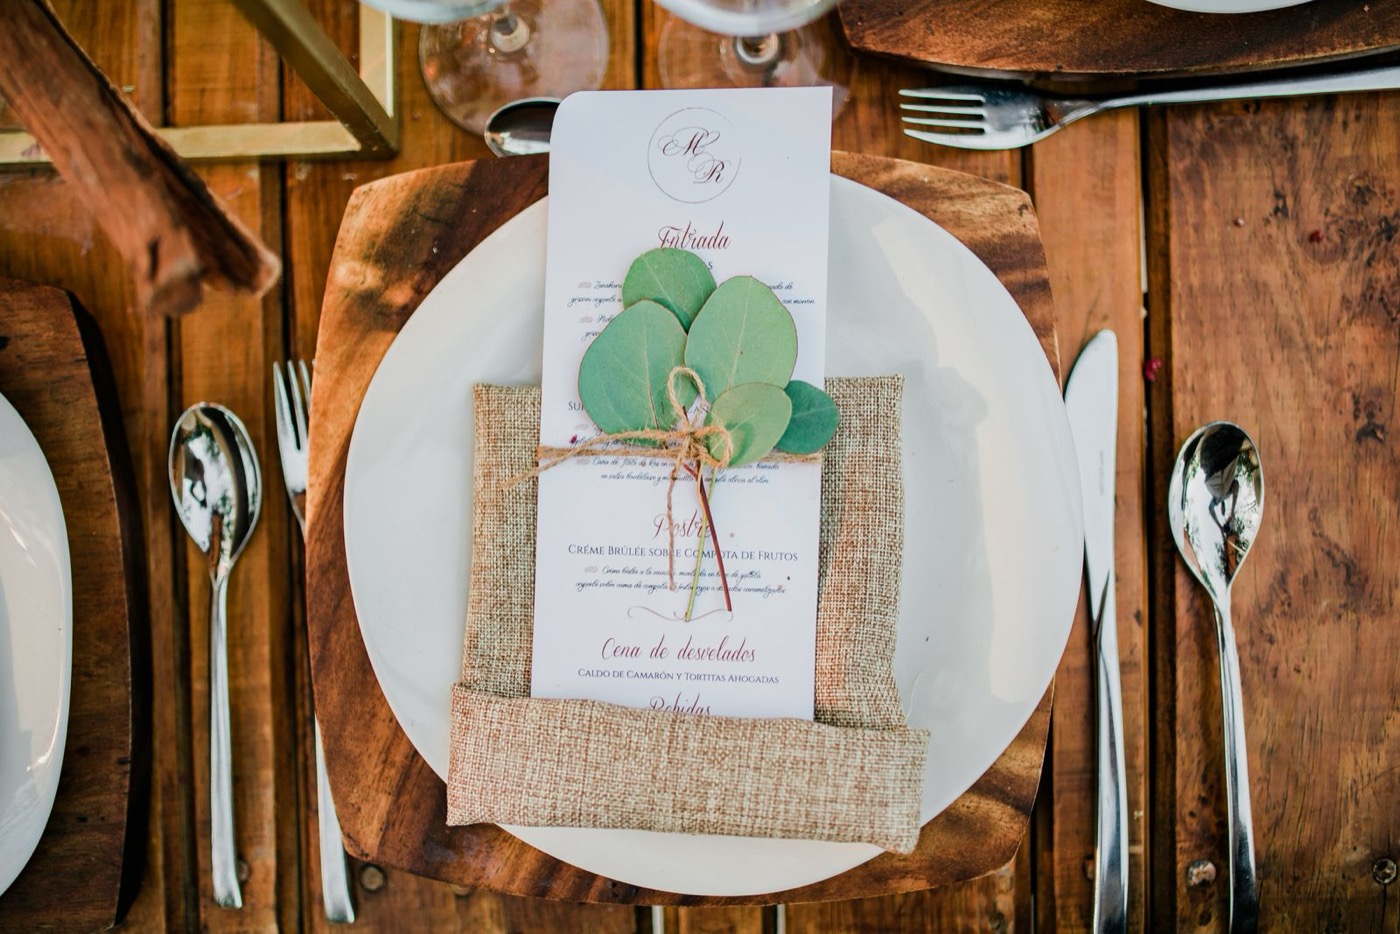
A happy middle ground: assign the table, let guests pick their own chair. If you do want place cards, a name tag tied to each napkin doubles as decor, which is what our napkin place settings guide is built around.
How to display your seating chart cheaply
The chart only has to do its job while people find their table, so it does not need to be expensive. Here's what that costs:
Engineer print. A huge black and white print on thin paper. A blogger who uses them a lot paid $7 to $8 for a 24x36 inch print at Staples and about $11 at FedEx (Everyday Reading). Her prices are from 2023, so check at the counter. This is the cheapest option by far and easy to reprint if someone cancels.
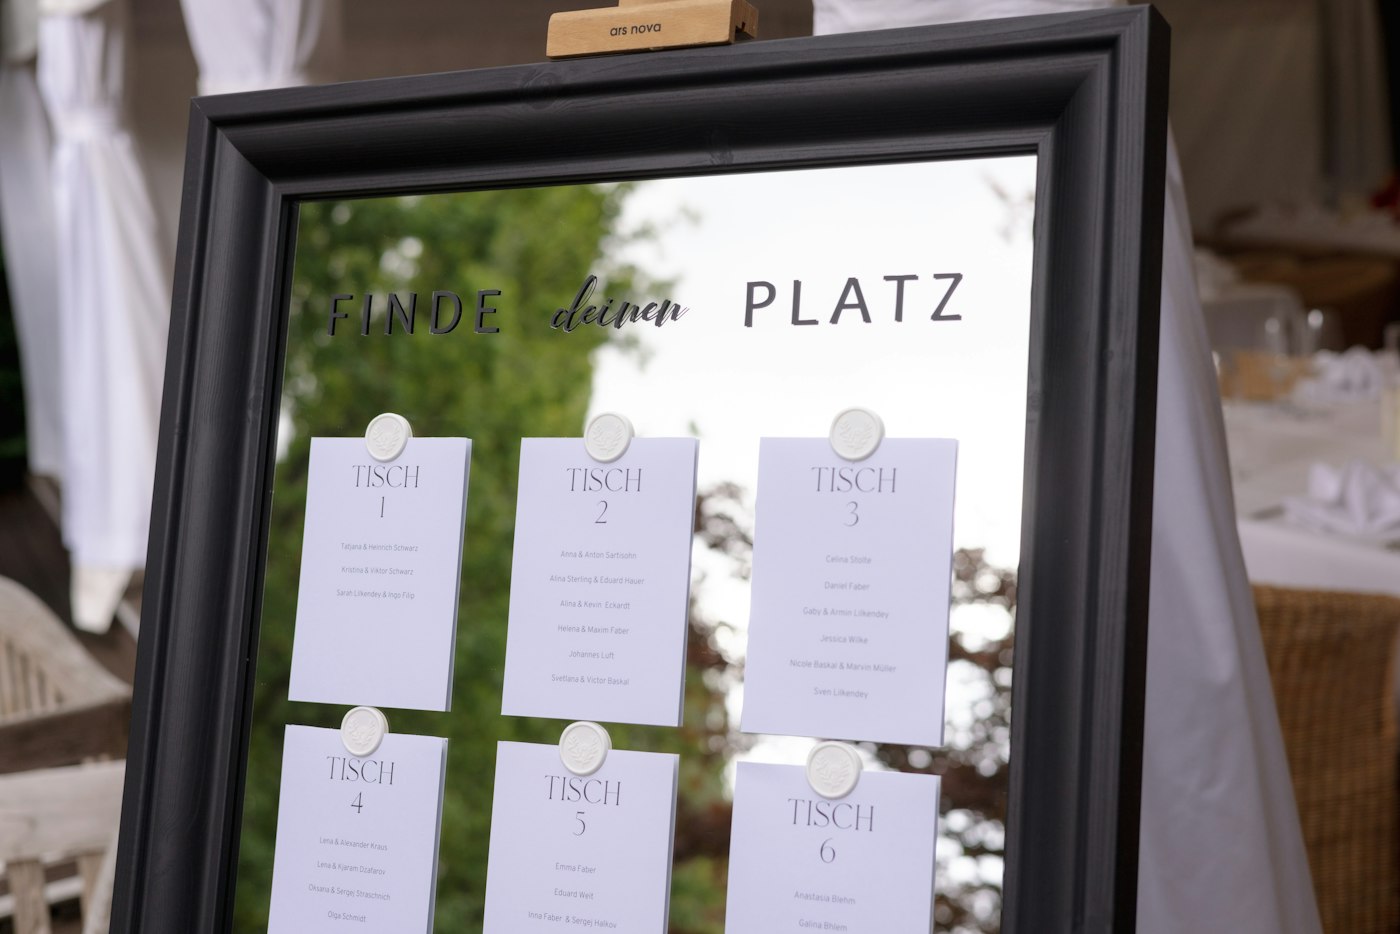
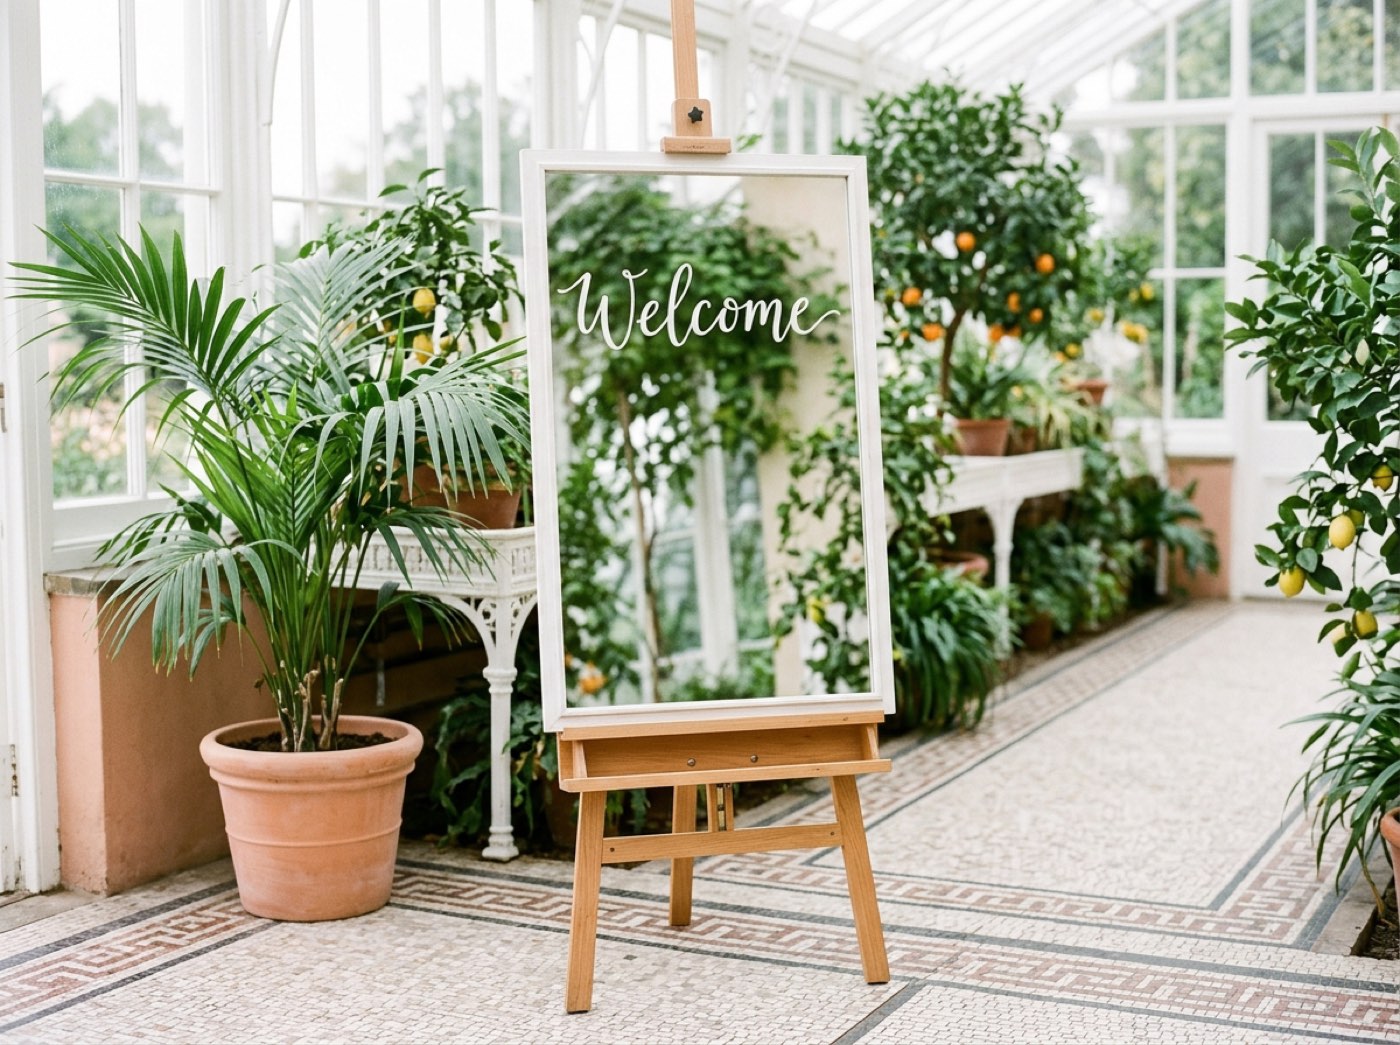
A mirror. The one everyone photographs. A full-length floor mirror at Walmart is $73.34, and our mirror seating chart comes to about $87 with the markers. A ready-made gold acrylic chart on Etsy was $322.06 when we checked (Etsy). If you already made a mirror welcome sign, use matching lettering so the two look like a set.
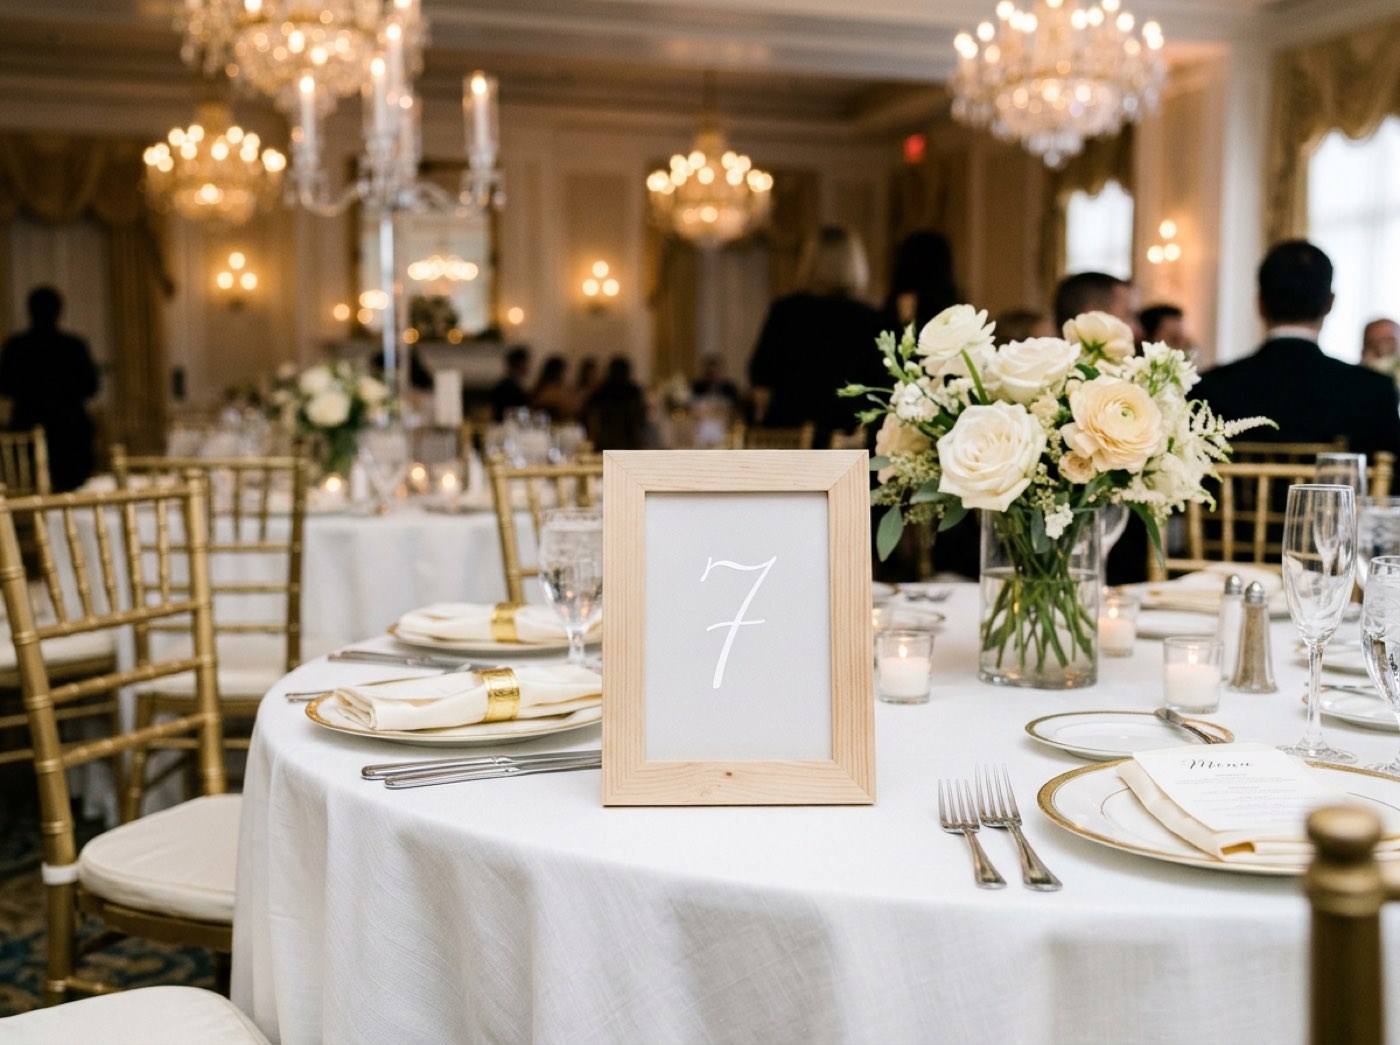
Table numbers. Whatever chart you choose, guests then need to find table 7. A Dollar Tree 5x7 frame is $1.25, and our table numbers guide works out to about $1.31 a table, against $7.95 for one acrylic number on Etsy. For the rest of your signage, see which DIY wedding signs you actually need.
A few things that make any chart easier to read
- Sort alphabetically by last name, not by table. Guests look for their own name, not for a table. A list by table makes 120 people read every card.
- Big letters. People read it from a few steps back, in a crowd, often holding a drink.
- Two charts for big weddings. With a long guest list, a second copy at the other side of the entrance stops the bottleneck.
- Someone else checks the spelling. You'll read what you meant to write.
The short version
Wait for RSVPs, get the floor plan, sort guests into parties and groups, then seat from the top down and keep feuding people two tables apart. Lock it about three weeks out, then show it on a cheap print, a mirror or whatever you already have, with simple table numbers on each table. Nobody remembers where they sat. They remember that they had a good time at their table, and you've just set that up.
Guides in this article
Unlock our complete DIY library
Free
- Cost and savings estimates for every project
- Materials lists to help you plan
- The “How much can you save?” overview
- New blog posts with inspiration and advice
A short list of the cheapest projects with the biggest savings. We email it to you.
Full access
$29
- Step-by-step instructions for every project
- Cost and quantity tables for 50, 100 or 150 guests
- Pro tips and common pitfalls to avoid
- Printable checklists to keep you on track
- Save your favorite projects
- New guides added every week
One payment, yours to keep. No subscription.
More tips & articles
- DIY Wedding Signs: 7 Ideas, What They Cost and Which Ones You Actually Need
- Wedding Day Timeline: Hour-by-Hour Sample Schedules for Morning, Afternoon and Evening Ceremonies
- Wedding Decoration Checklist: Every Item, Area by Area, With Real Prices
- Cheap Wedding Food Ideas: What Buffets, Food Trucks and Brunch Really Cost Per Head